Symptom Library
Car Symptoms Linked to OBD-II Codes
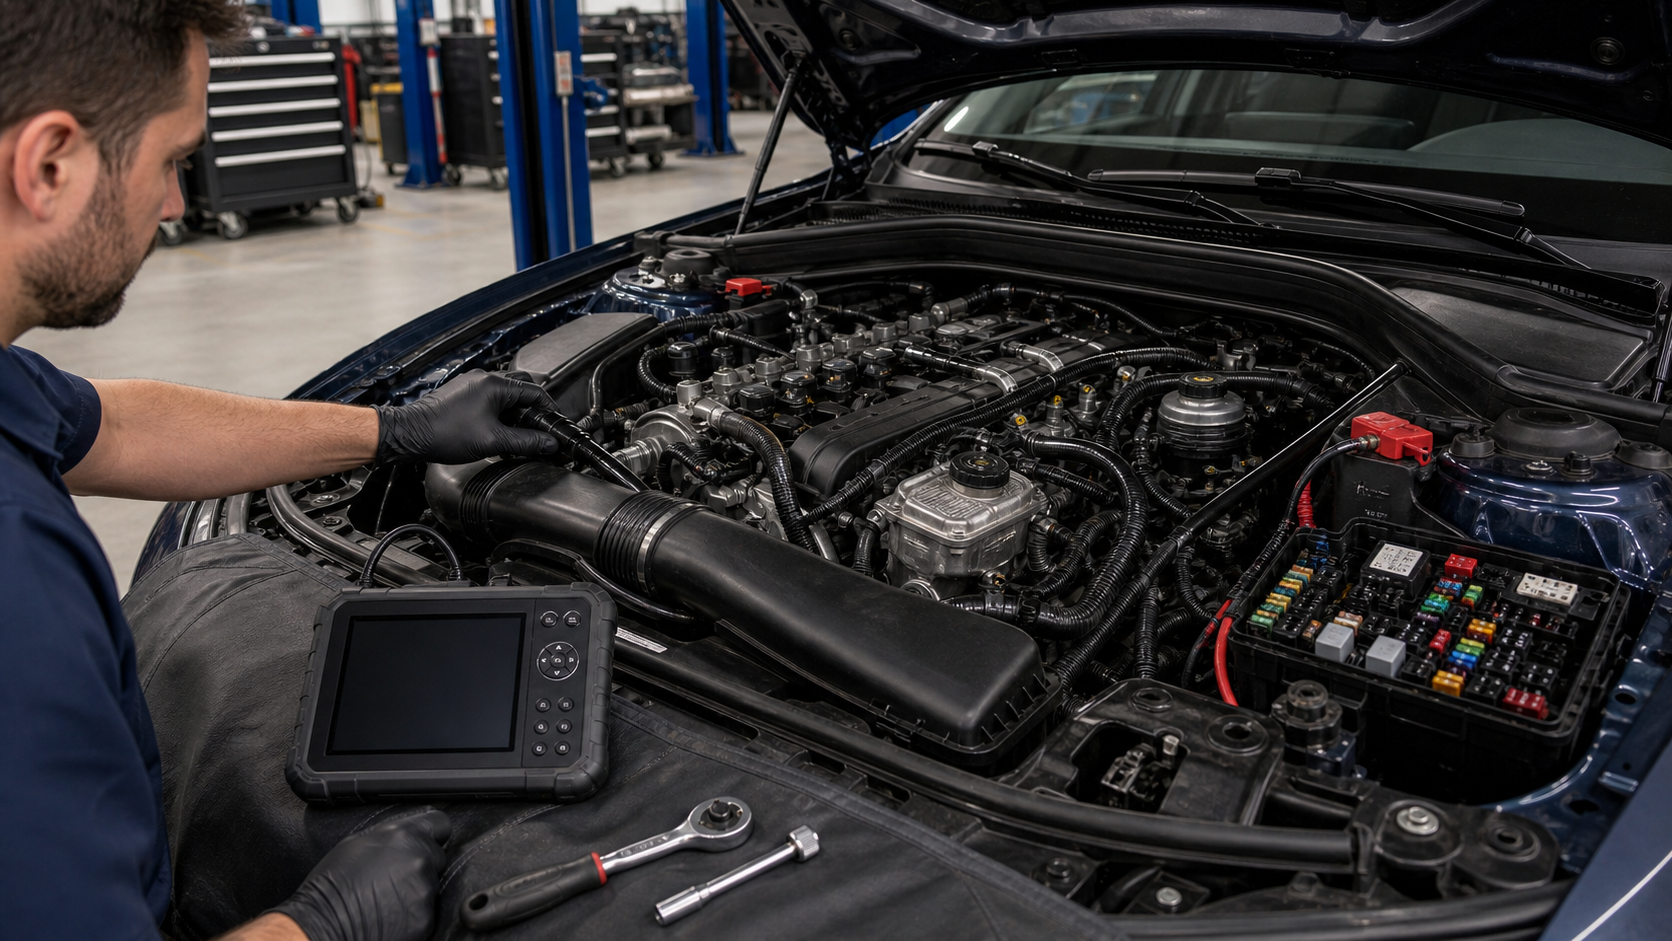
Use symptom guides to narrow possible OBD-II codes before replacing parts.
How to Use the Symptom Library
Symptom pages help when the driver knows how the vehicle feels but does not yet know which code matters. Rough idle, fuel smell, hesitation, poor fuel economy, harsh shifting, or a flashing check engine light can each point to more than one system. The symptom page links likely codes and explains which conditions make the complaint more urgent.
Use symptoms as a filter, then confirm the direction with a scanner. The strongest diagnosis connects driver notes, freeze-frame data, live readings, visual inspection, and a repeatable test. If those items do not agree, avoid replacing parts until the evidence is clearer.
How to Use the Symptom Library Evidence to Keep
Keep the first scan result, freeze-frame screen, mileage, symptoms, recent repairs, and the date the warning light appeared. This information makes the how to use the symptom library section more useful because it lets you compare the page with the vehicle instead of reading the code name in isolation.
Next Step After How to Use the Symptom Library
Move from this how to use the symptom library page to a specific code, symptom, cost, or make page. Internal links are intentionally placed so you can follow the diagnostic path without returning to search results for every question.
How to Use the Symptom Library Practical Workflow
Use the how to use the symptom library directory as a map, then narrow the question. A good workflow starts with the most specific evidence available, saves the scan report, compares symptoms, checks the system category, and opens the individual guide that matches the code or repair decision. This prevents a broad directory page from becoming a vague answer.
When several how to use the symptom library internal links look relevant, open the page that describes the first failed condition. Misfire, voltage, fuel trim, and communication faults often create secondary readings, so the best next click is not always the code with the most expensive part. Follow the path that explains why the vehicle set the warning light.
After reading the how to use the symptom library directory, write down one next action: inspect a visible item, save more scan data, compare a symptom page, estimate repair cost, or schedule professional diagnosis. The site is designed to move from search intent into a concrete repair decision.
The how to use the symptom library directory is not a padded landing page; it is a navigation hub. Its job is to show the topic map, expose useful internal links, and help the reader choose a more specific guide with enough confidence to keep moving.
For reader usefulness, this also gives the how to use the symptom library directory a clear purpose: it explains the section, routes users to detailed pages, and reinforces the relationship between codes, symptoms, costs, makes, and system categories.
Last updated:
How to Use This Car Symptom Guides Page
This Car Symptom Guides page is meant to turn a broad repair question into a specific next action. Read the main answer first, then compare it with the scan report, symptom timing, recent service history, and any related pages linked from this section. If the evidence does not match the page, move to the closest code, symptom, system, make, or repair-cost guide instead of forcing the diagnosis to fit.
For this symptoms path, a useful session ends with one clear decision: save more scan data, inspect a visible part, compare a related code, estimate the repair, avoid driving, or schedule professional diagnosis. Keep the first scan report and final verification note together so the repair can be checked later if the warning light returns.